How to make measurements to install doors and windows?
How to make measurements to install doors and windows?
For the installation of doors, the first thing that must be
done is the measurement of the area or space, to obtain the measurements of the
door to acquire. After this, the work itself begins.
Verification of the frame and the level: to verify if the
space provided for the installation of the door is perfectly framed, the
diagonals of the opening must be measured. If both diagonals have the same
length, then the frame is perfect.
Another aspect to check is the level of each of the sides or
faces of the range. For this, use is made of the digital inclinometer, which
will quickly and easily indicate the corresponding leveling. It is enough to
place the measuring instrument on each of the surfaces of the opening, and it
will show the value of the reading on its screen.
If it is necessary to correct unevenness or the framing, the
surface of the opening can be reduced with sandpaper, or more stucco can be
applied to level it.
Measure, cut and assemble the door frame: the width and
height of the range must be transferred to the boards that will be used to
build the door frame. This can be done with the use of a tape measure or by facing
each board to the range.
Then proceed to cut each board according to the
measurements, taking care to cut the ends of these at an angle of 45 °, to be
able to make the joints without problem. Cutting the boards can be done with a
circular saw, hand saw, or miter saw if the frame is narrow.
To make the union of the 3 boards that will form the door
frame, they must be presented to validate the angle of both corners in the
first instance.

How to make angle measurements to install doors?
This can be verified with the use of an
angle gauge, Each arm of the measuring instrument is placed in the internal
part of the corners of the frame, that is, in the corners of the frame. When
obtaining the measurement of the first angle, it is validated that it is
correct, and the device's value transfer function can be used to ensure that
the angle of the other corner of the frame has the same degree. The perfect
value for frame angles is 90°.
Next, the 3 pieces are joined with a press, to apply cold
glue. To fix the union, 3 screws are used for each corner, and it is left to
dry for half an hour.
Bosch digital angle gauge - Door
Angle Check with Digital Angle Finder
Installation of the frame: the first step in this phase is
to present the frame in the opening. After this, we proceed to check the plumb
and the level of the frame, with the use of the digital inclinometer.
If unevenness needs to be corrected, the frame can be
lowered by sanding or brushing the wood. Another option is to apply more stucco
in the opening, to level.
To proceed with the fixing of the frame, perforations are
made in it every 30 cm. These perforations must extend to the opening, for
which the drill bit must be changed for a concrete one. To continue, the
respective concrete plugs must be placed in each of the holes, and proceed to screw
the frame into the opening.
Installation of the hinges: the first step to take is to
mark on the edge of the door, the place where the hinges will be installed, as
well as their dimensions.
3 hinges must be installed, which must be located as
indicated below:
The first 10 centimeters from the top edge.
The second at the height of the axis of the door.
The third 10 centimeters from the bottom edge.
The second step to take is to make the opening on the edge
of the door, to install the hinge. The cutout must have a depth equal to the
thickness of the hinge, generally 3 mm. It is very important that the hinges
are flush with the edge surface of the door. To make the recess or stock you
can use the milling machine.
The third step is to fix the hinges on the door. For which
we proceed to screw these with the use of the drill and the respective fixings.
To take the fourth step, the door must be presented in the
frame and proceed to mark the place where the hinges will be installed. Once
the 3 hinges have been demarcated in the frame, the respective draft is made.
In this case, the opening must be carried out in such a way that the hinges are
level with the surface of the frame.
Installation of the door:
finally, the installation of the door is carried out by screwing the hinges
into the frame. Wood screws are used for this.
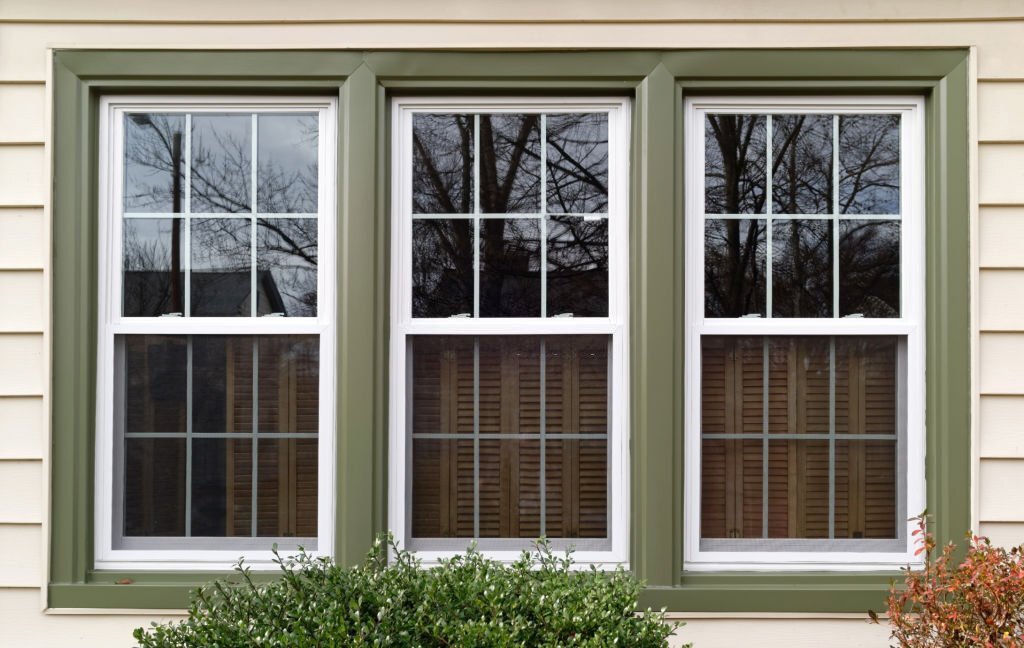
For the installation of windows, as in the case of doors,
you must verify the space available, take the corresponding measurements and
acquire a window according to the measurements.
Validate the measurements
and level of the opening: with the use of the tape measure and the digital
inclinometer, it must be verified that the opening has the leveling and the
measurements required for a correct installation.
Verify the
measurements of the window: it is important to verify that the diagonals of
the window coincide on both sides. This will indicate that the window is
perfectly framed, otherwise it should not be installed.
Present and level the
window: the window must be presented in the opening to proceed to level it,
placing wedges on the lower edge. If needed, shims should also be placed on the
sides for proper window placement and leveling.
Next, the digital inclinometer should be used to verify the
level of the window, on all its sides and in the center. The wedges must be
moved or displaced, until the perfect level is obtained. In this case, the
acoustic signal of the inclinometer can be used, which can be programmed to emit
its sound, once the correct level of inclination has been reached.
Install the window:
once the window is leveled on the opening, proceed to fix the window with the
use of screws. These should be screwed to the top and bottom of the window
sides, going through the opening. Great care must be taken not to apply extreme
force when installing the screws, as this could distort the sides of the
window.
Build the window sill:
the sill is a gap that is built at the base of the opening, to prevent water
from accumulating. This unevenness is made using exterior stucco, and must have
about 5mm. high at the end facing the window, and from where its height must
descend to the edge of the opening.
With the use of the digital inclinometer and its laser beam,
it is possible to easily and quickly trace the height of 5mm that the sill must
have at the base of the window, to proceed to apply the stucco.

Advantages of digital inclinometer
The use of tools that contemplate technological advances in
their designs, considerably facilitate the execution of the works. In the case
of the digital inclinometer, it allows tasks that were previously carried out
using the spirit level to be carried out in a much simpler, more efficient and
faster way.
Bosch Magnets digital inclinometer
Digital inclinometer – Magnetic holding function
Previously, to equalize the inclination of two surfaces, the
corresponding measurements had to be taken on one of these and proceed to make
the adjustments to the second, making measurements repeatedly until obtaining
equal inclination on both surfaces. Currently equalizing the level of
inclination of two surfaces is done immediately with the function of
transferring the value, which has the digital inclinometer.
In the same way, when it is necessary to draw a straight
line to make a cut or installation, now it can be done in just seconds, with
the laser beam of this advanced tool. The work of marking several points on the
surface with a pencil and then drawing the line joining these points is a thing
of the past.
On the other hand, pencil and paper are no longer required
to take note of the measured value. The inclinometer can save the value with
the «Hold» function, which will allow you to retrieve the last value read by the
instrument, when required.
Undoubtedly, the digital inclinometer, like other work
instruments, makes use of the highest technology for the benefit of its users.

Comments
Post a Comment