Step by step Instructions to Replace a Window
Instructions to Install Replacement Windows
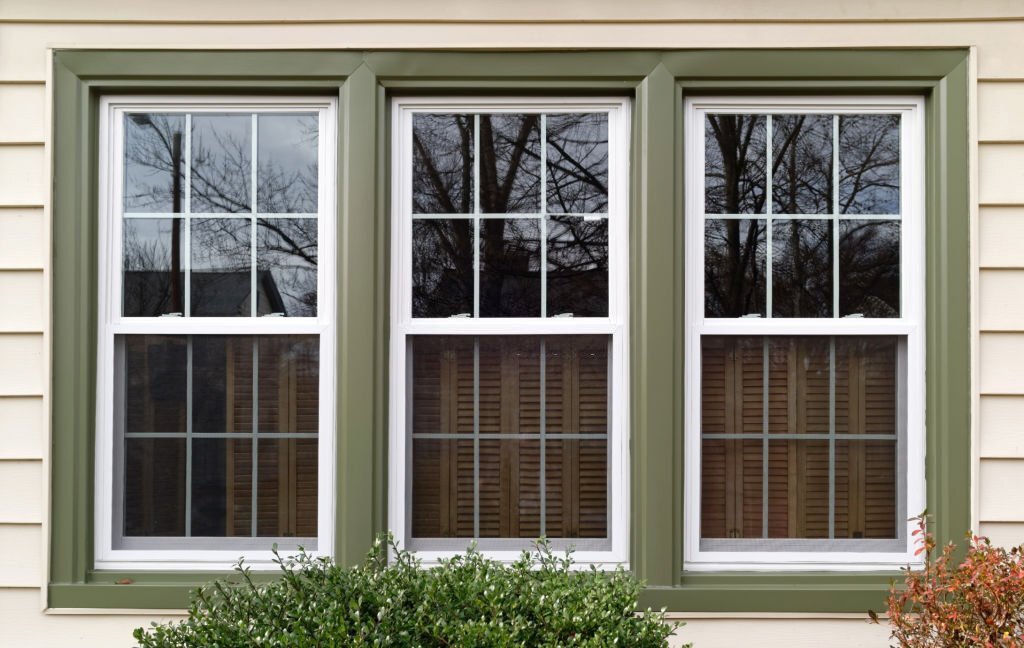
1. Window Replacement
Parts
Kinds of Replacement
Windows
Dissimilar to full-outline windows, which are intended for
new development, substitution windows are made to find a way into existing
window openings. They're accessible in many standard sizes, from as tight as 11
½ creeps to as wide as 68 inches, and come in wood, vinyl, fiberglass, casement, Slider, awning hopper, and Double hung windows.
There are three fundamental sorts of substitution windows:
scarf packs, embed substitutions, and full-outline units. Scarf substitution
units—what Tom found on the Newton house—give an old window outline new mobile
parts, including frame liners and band. The liners are attached to the side
pillars of the window opening, then, at that point the scarf are sneaked in the
middle.
For everything to fall into place, the current window
outline should be level and square. An addition substitution window comprises
of a completely collected window in a prepared to-introduce auxiliary casing.
In some cases called a pocket window, a supplement substitution slips into the
current opening and is then affixed to the old side supports. Since you're
adding new supports and liners, the glass region will be somewhat more modest
than it was previously.
Full-outline substitution windows are like additions, then
again, actually they have a total casing that incorporates head pillar, side
supports, and ledge. These are the solitary alternative when the old window
casing, ledge, or pillars are spoiled. To introduce these, you should strip the
window opening down to its unpleasant outlining, all around.

2. Estimating for
Replacements
The main advance in the window-substitution measure happens
well before establishment day. It's the point at which you measure the elements
of the current window casing to ensure you request a substitution unit that is
the right size. Here's the manner by which to do it.
Start by estimating within width of the old window outline,
frame to support, in three spots: across the top, center, and base. Record the
littlest of the three estimations.
Then, measure the edge's range from the highest point of the
ledge to the underside of the head frame in three spots: at the left support,
in the center, and at the right. Once more, record the littlest estimation.
Check the evenness of the casing by estimating the diagonals
from one corner to another. The two measurements ought to be something very
similar. In the event that the edge is out of square by 1/4 inch or something
like that, relax; the substitution can be shimmed to fit. Much else may expect
changes in accordance with the edge. In the event that the edge is so messed up
that a square substitution wouldn't look right, you'll need a full-outline
substitution.
At last, utilize a point estimating apparatus to decide the
slant of the ledge; a few supplantings accompany a decision of ledge points.
3. Take Out the Sash
The initial step is to eliminate the old scarf from the
window outline. By and large, you'll need to pry off or unscrew the inside
wooden stops to eliminate the lower scarf. (In case you're wanting to reinstall
the stops, do this work cautiously; they break without any problem.)
Then, take out the splitting dabs to free the upper scarf.
In the event that your windows, similar to these, were beforehand fitted with
scarf substitution units, there will not be any dots. Just press in on the
support liners and pull the highest point of the scarf forward.
Then, at that point turn one side of the scarf up to liberate
it from the support liners.
4. Pry Off The Jamb
Liners
On the off chance that the window outline was fitted with
vinyl or aluminum pillar liners, utilize a level bar to pry them free. On
account of a unique window, eliminate any leftover wooden prevents from the
window outline.
Leave the inside and outside housings unblemished.
5. Prep the Frame
Scratch off all free and rankled paint and fix any openings
or breaks with an outside grade wood clay, like the ones from Elmer's or
Minwax.
Then, at that point sand the frames smooth, and prime and
paint the surfaces.

6. Eliminate the Old
Sash Weights
On the off chance that the first band loads are still set
up, make a move to eliminate them from their pockets and protect behind the
window outline.
Unscrew the entrance board on each side frame and pull out
the loads.
7. Prep For
Insulation
Tom likes polyurethane froth, since it's more viable at
impeding air than fiberglass protection.
Make a point to utilize just low-pressure, insignificantly
extending froth proposed for windows and entryways; whatever else will bow the
casings and hold the band back from working.
To start with, pull out any current fiberglass in the weight
pockets.
Then, at that point bore 3/8-inch-width openings, one close
to each end and one in the middle, down through the ledge and up through the
head support.
8. Shower in the Foam
Shoot the growing froth into the openings until it starts to
overflow out. (Tom is utilizing a business framework, however you can do a
similar occupation with froth from a can, similar to Dow's Great Stuff.)
Additionally shower froth into the band weight pockets in
the side frames. Permit the overabundance to solidify for something like 6
hours, then, at that point sever or cut it flush prior to supplanting the band
weight pocket boards.
9. Caulk the Opening
In anticipation of introducing the window, apply an
elastomeric caulk to the uncovered inward face of the outside housings or to
the visually impaired stops on the top and sides of the edge. Likewise apply
two ceaseless dots of caulk along the windowsill.
10. Introduce the
Window
Working from inside the room, set the lower part of the
supplement substitution onto the ledge, then, at that point tip it up into the
opening. Press the window tight against the outside housings or visually
impaired stops.
11. Attach It Loosely
Hold the window set up with one 2-inch screw passed freely
through the upper side support and into the outlining. The screw ought to be in
sufficiently far to permit the window to work.
Close and lock the band.
12. Shim as Necessary
Wooden Shim Under Window Sill
Change the unit by embeddings shims under the ledge and
behind the side frames until it is focused in the space and opens, closes, and
locks easily.
Measure the window askew from one corner to another; the
estimations ought to be something similar. At the point when the window is
square, screw it set up through the predrilled openings.
To try not to bow the edge, slip a shim behind the pillar at
each screw, then, at that point screw through the shim.
Trim the shims flush with a utility blade.

13. Caulk, Prime and
Paint
From an external perspective, measure the holes between the
window outline and the packaging. Fill holes under 1/4 inch wide with
elastomeric caulk. Anything more extensive should initially be loaded down with
froth elastic sponsor pole.
if you want to know benifits of replacing windows and doors
Within, fill any holes around the window with insignificantly
extending froth.
Wrap up by reinstalling the stops or adding new ones.
Then, at that point prime and paint, or stain the inside of
the window band and casing.
30-Foot Tape Measure
Measuring tape
Clay Knife
Caulk Gun
Caulk firearm
Drill
Paint scrubber
Utility Knife

Comments
Post a Comment